
PixelFed is a free and ethical photo sharing platform. It has awesome features and can be a great option for those looking for a self-hosted photo sharing platform. This post outlines the installation and configuration process, so you could have your instance.
Assumptions
I am going to make the following assumptions:
- You have a virtual Private Server (VPS) with a public IP.
- You have a (sub) domain name. I will use pixel.example.com
- You have some knowledge working with Linux, Bash, and Nginx.
- Your VPS is running Ubuntu 18.04 or 20.04
1. Install Requirements
Configure DNS Records
Create an A record in your DNS management interface at your domain register. The record should point your domain/subdomain to the public IP address of your VPS.
Create a local user
You could run this setup guide under your root user, but I would highly discourage you from doing so for multiple reasons. Create a new user and use it when installing and configuration your application.
My initial recommendation on how to create the user was to create a local user with no password, but someone on Reddit pointed out that using NOPASSWD is a horrible way to create a user. They are somewhat right, under certain conditions, using this method can result in a vulnerable server so be careful if you decide to use a user who has no passwords.
There are a bunch of discussions and posts online discussing the security implications of using NOPASSWD and --disabled-login, you can easily find them using Google. I recommend doing that and learning more about the nuances of how this works.
If you decide to follow the NOPASSWD route, make sure you have the following configured:
- Disable password authentication for SSH, only allow Public Key Authentication, and make sure your new user has no keys attached to them.
- Any publicly accessible directories are owned by the appropriate web server user (in my case, www-data).
- Ensure targetpw isn't enabled on your system.
I added some resources in the links section, check them out for more information around this.
Instead of using the root user, I created a local user who has no password and can't be used for SSH. I use "pixel" as a username, you can choose your own.
adduser --disabled-password --shell /bin/bash pixel
To give this user Sudo rights, we need to edit the sudoers file using visudo. Add this line to the file and save it.
pixel ALL=(ALL) NOPASSWD:ALL
Whichever method you use, don't forget to switch to the new user before proceeding with the remaining steps.
su pixelInstall Requirements
sudo apt install -y nginx mysql-server php7.4 php7.4-gd php7.4-bcmath php7.4-ctype php7.4-curl php7.4-exif php7.4-iconv php7.4-intl php7.4-json php7.4-mbstring php7.4-redis php7.4-tokenizer php7.4-xml php7.4-zip php-mysql php-fpm ffmpeg redis git libgl-dev gcc libc6-dev libjpeg-dev make optipng pngquantUpdate Nginx Configuration
Edit your nginx configuration (located at /etc/nginx/sites-available/default) and change the server_name variable to your subdomain.
server_name pixel.example.com;Obtain TLS Certificate
Install Certbot and obtain a TLS certificate using the following commands (make sure to enforce automatic redirection):
sudo apt install certbot python3-certbot-nginx
sudo certbot --nginx -d pixel.example.com
Prepare Database
First, we run the post-installation security script:
sudo mysql_secure_installation Next, we need to connect to MySQL to create a user and database for the application.
sudo mysql

# Create a database
create database pixelfed;

# Create a user with a strong password
CREATE USER 'pixelfed'@'localhost' IDENTIFIED BY 'STRONG_PASSWORD';

# Grant the new user rights on the database
GRANT ALL PRIVILEGES ON pixelfed. * TO 'pixelfed'@'localhost';

# Flush privileges
FLUSH PRIVILEGES;
Update php.ini
Make the following changes to the php.ini file (located at: /etc/php/7.4/fpm/php.ini).
post_max_size(default 8M, set this around or slightly greater than your desired post size limit)file_uploads(default On, which it needs to be)upload_max_filesize(default 2M, set this <=post_max_size)max_file_uploads(default 20, but make sure it is >= your desired attachment limit)max_execution_time(default 30, consider raising this to 600 or more so that longer tasks aren't interrupted)
Install Composer
sudo php -r "copy('https://getcomposer.org/installer', 'composer-setup.php');"
sudo php -r "if (hash_file('sha384', 'composer-setup.php') === '756890a4488ce9024fc62c56153228907f1545c228516cbf63f885e036d37e9a59d27d63f46af1d4d07ee0f76181c7d3') { echo 'Installer verified'; } else { echo 'Installer corrupt'; unlink('composer-setup.php'); } echo PHP_EOL;"
sudo php composer-setup.php
sudo php -r "unlink('composer-setup.php');"
sudo mv composer.phar /usr/local/bin/composer
Install Jpegoptim
git clone https://github.com/tjko/jpegoptim.git
cd jpegoptim
sudo ./configure
make
make strip
sudo make install
2. Install PixelFed
Download PixelFed Source
cd /var/www/html
git clone -b dev https://github.com/pixelfed/pixelfed.git .

# Fix permissions
sudo chown -R www-data:www-data .
sudo find . -type d -exec chmod 755 {} \;
sudo find . -type f -exec chmod 644 {} \;
Initialize PHP dependencies
sudo composer install --no-ansi --no-interaction --optimize-autoloaderUpdate the .env configuration file
First, we make a cope of the .env file.
cp .env.example .env Next, we update the following values in the configuration file.
sudo nano .env

# Change the values with ones that work for you
APP_NAME="Pixelfed Private Instance"
APP_ENV=production

APP_URL=https://pixel.example.com
APP_DOMAIN="pixel.example.com"
ADMIN_DOMAIN="pixel.example.com"
SESSION_DOMAIN="pixel.example.com"
TRUST_PROXIES="*"

DB_CONNECTION=mysql
DB_HOST=127.0.0.1
DB_PORT=3306
DB_DATABASE=pixelfed
DB_USERNAME=pixelfed
DB_PASSWORD=<YOUR Strong Password>
Run Installation Tasks
The following commands install the application and does all the steps required for it to work.
# Generate the secret APP_KEY
sudo php artisan key:generate

# Link the storage directory to the app
sudo php artisan storage:link

# Perform database migrations
sudo php artisan migrate --force

# Import cities
sudo php artisan import:cities

# Cache routes and view
sudo php artisan route:cache
sudo php artisan view:cache

# Cache configuration
sudo php artisan config:cache

# Set up job queueing using Horizon
sudo php artisan horizon:install
sudo php artisan horizon:publish
Setup Systemd Service
Create a service file at /etc/systemd/system/pixelfed.service and add the following configuration.
[Unit]
Description=Pixelfed task queueing via Laravel Horizon
After=network.target
Requires=mysql
Requires=php-fpm
Requires=redis
Requires=nginx

[Service]
Type=simple
ExecStart=/usr/bin/php /usr/share/webapps/pixelfed/artisan horizon
#User=http
Restart=on-failure

[Install]
WantedBy=multi-user.target
Once the file is in place, enable and start the service.
sudo systemctl enable --now pixelfed
sudo systemctl restart pixelfed.service
Configure Nginx
Before we can browse the application, we need to update the Nginx configuration a bit. Make sure your configuration file includes all the following configuration values (pick only the parts that are missing from your file, including uncommenting some sections). Make sure to replace the subdomain with yours.
server {

        add_header X-Frame-Options "SAMEORIGIN";
        add_header X-XSS-Protection "1; mode=block";
        add_header X-Content-Type-Options "nosniff";

        root /var/www/html/public;

        index index.html index.htm index.php;

        server_name pixel.ahmedmusaad.com;

        location / {
                try_files $uri $uri/ /index.php?$query_string;
        }

        location = /favicon.ico { access_log off; log_not_found off; }
        location = /robots.txt  { access_log off; log_not_found off; }

        # pass PHP scripts to FastCGI server
        #
        location ~ \.php$ {
                include snippets/fastcgi-php.conf;
                # With php-fpm (or other unix sockets):
                fastcgi_pass unix:/var/run/php/php7.4-fpm.sock;
        }


    listen [::]:443 ssl ipv6only=on; # managed by Certbot
    listen 443 ssl; # managed by Certbot
    ssl_certificate /etc/letsencrypt/live/pixel.ahmedmusaad.com/fullchain.pem; # managed by Certbot
    ssl_certificate_key /etc/letsencrypt/live/pixel.ahmedmusaad.com/privkey.pem; # managed by Certbot
    include /etc/letsencrypt/options-ssl-nginx.conf; # managed by Certbot
    ssl_dhparam /etc/letsencrypt/ssl-dhparams.pem; # managed by Certbot

}


server {
    if ($host = pixel.ahmedmusaad.com) {
        return 301 https://$host$request_uri;
    } # managed by Certbot


        listen 80 default_server;
        listen [::]:80 default_server;

        server_name pixel.ahmedmusaad.com;
    return 404; # managed by Certbot


}
Create your first user
Let's create the first user, so we can finally enjoy the awesomeness of PixelFed.
sudo php artisan user:create

# The Script Flow

Creating a new user...

 Name:
 > Ahmed

 Username:
 > ahmed

 Email:
 > test@ahmedmusaad.com

 Password:
 >

 Confirm Password:
 >

 Make this user an admin? (yes/no) [no]:
 > yes

 Manually verify email address? (yes/no) [no]:
 > no

 Are you sure you want to create this user? (yes/no) [no]:
 > yes

Created new user!
Browse to the website
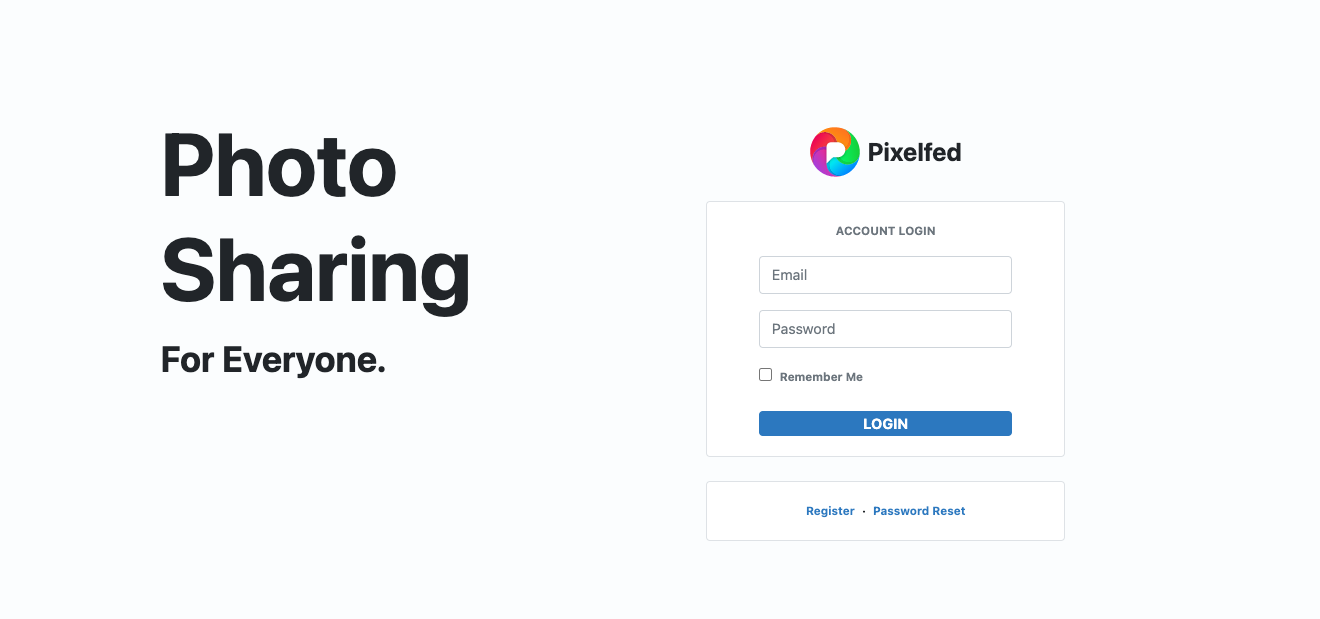
Everything is in order, and we are ready to finally try out PixelFed. Navigate to the website URL (mine is https://pixel.ahmedmusaad.com for example), you should be greeted with this page:
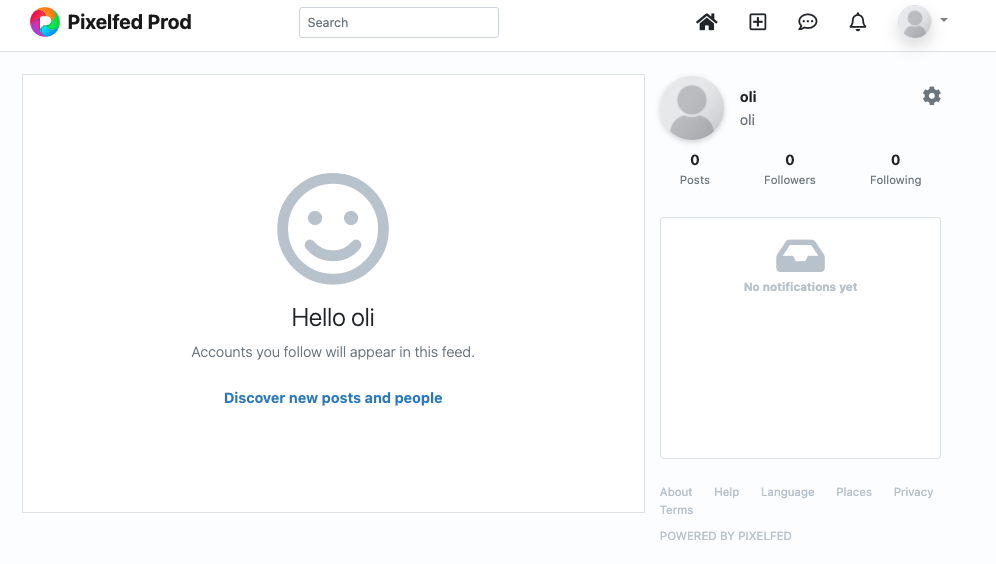
Once you are logged in, you will see your home page.
3. That's It 🎉🎉🎉
That's it. Have fun exploring the product and hopeful you would like it enough to use it in your everyday life.
Links
- Pixelfed - Federated Image Sharing
- Pixelfed Documentation
- How To Secure Nginx with Let's Encrypt on Ubuntu 20.04 | DigitalOcean
- How To Install and Secure Redis on Ubuntu 20.04 | DigitalOcean
- How To Create a Sudo User on Ubuntu [Quickstart] | DigitalOcean
- Creating a new user and modifying its privileges in Linux | Average Linux User
- server - What are the actual risks of giving www-data sudo nopasswd access? - Ask Ubuntu
- 5.4. Bypassing Password Authentication in sudo - Linux Security Cookbook [Book] (oreilly.com)
- passwords - How secure is NOPASSWD in passwordless sudo mode? - Information Security Stack Exchange